1 |
Use the preset keys, search mode, or PLU entry to select the product.
Number Pad - Use the number keys to enter the PLU Number followed by the "PLU" Button.
Search - Press the "Search" Button, Enter the Description of the Product using the On-Screen Keyboard. Select the Product required from the Search Results.
Preset Keys - Select the Tab containing the product and press the required product key.
For more information see Finding Products.
|
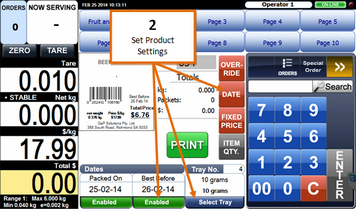
2 |
Set desired product settings such as use-by date, quantity, and tare.
|
3 |
Place the item on the scale.
Once the weight is stable the print button becomes active.
|
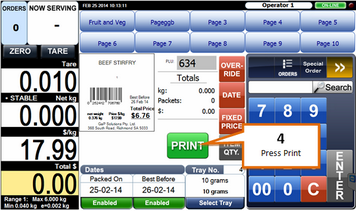
4 |
Press the Print button.
|
5 |
Once the Print Button is pressed, Pre-Pack Mode becomes Active and the Print Button Disappears. From now on, every time the weight is changed (Weight has to be changed more than the Trigger Weight, normally 40g) a label is printed.
|
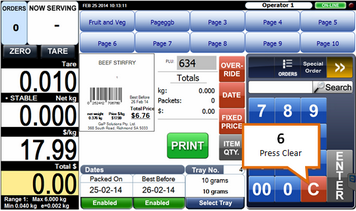
6 |
To stop the pre-pack function press the Clear (C) button.
|