To print labels from a talker request file on a PDE...
1 |
Click on the Shelf tickets button under the Home tab of the toolbar. |
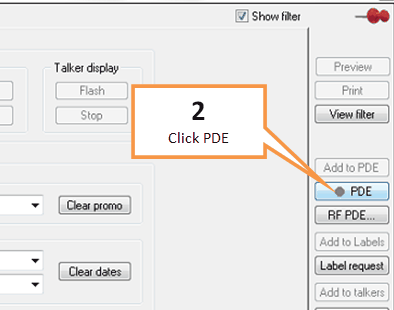
2 |
Click on the PDE button on the right hand side of the screen.
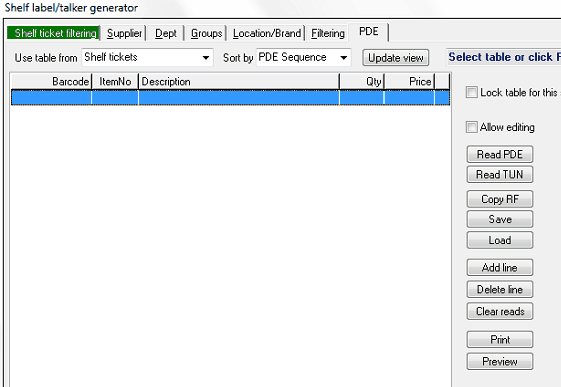
The following screen will appear.
|
3 |
Ensure the list is empty, as shown above. (If there is already data in the list click on the Clear Reads button). |
4 |
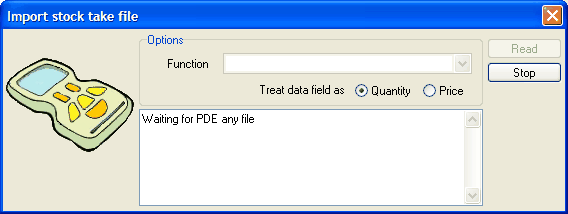
Once the list is empty click on the Read PDE button.
When the above screen appears Ezi Office is ready for you to download data from your PDE.
|
5 |
Set up the PDE for download as per the PDE instructions. |
6 |
Once the PDE has downloaded click on the Finish button. The list will now have the data you downloaded filled in. |
7 |
Click on the green Shelf Ticket Filtering tab to return to the main screen. |
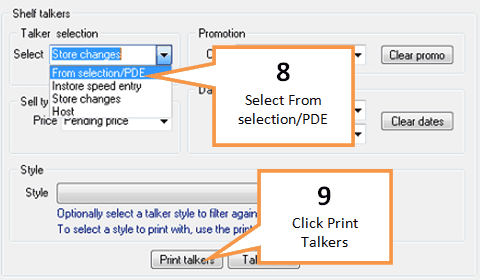
8 |
Using the drop down arrow in the Talker Selection section select From Selection/PDE.
|
9 |
Click on Print Talkers button. |
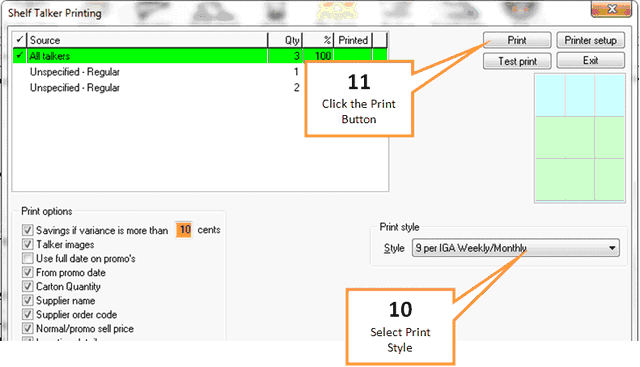
10 |
Select stationary size (eg. 6 per page or 9 per page).
|
11 |
Once stationary is in the printer click the Print button. |