When you have made changes to a product in Item Properties or added a new line, Ezi Office will flag the product to generate a Label.
You can also select this feature yourself in Item Properties by ticking the Print Labels box as pictured below.

Printing Labels for Store Changes
To print the labels generated by the Print labels checkbox function...
1 |
Click on the Shelf tickets button under the Home tab of the toolbar. |
2 |
Click on the Clear All button before beginning to set your filters. |
3 |
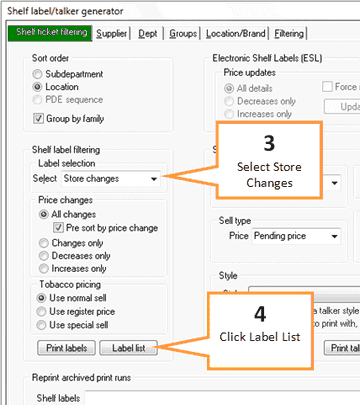
Using the drop down arrow next to the label selection field, select Store Changes.
|
4 |
Click on Label List button to view the selection that will be printed. |
5 |
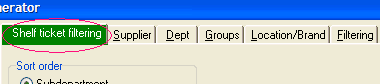
Click on the green Shelf Ticket Filtering tab to return to the main screen.
|
6 |
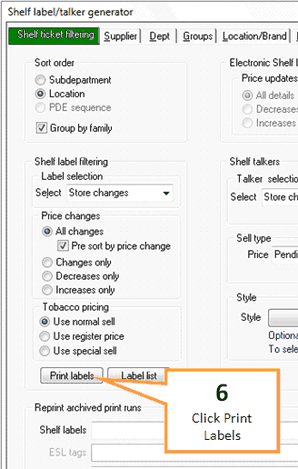
Click on the Print Labels button, the Shelf Label Printing screen will appear.
|
7 |
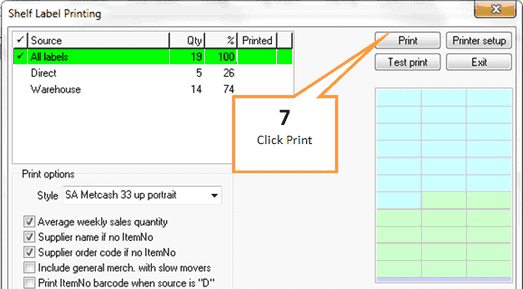
When you have put the stationary in the printer click on the Print button. Ezi Office will ask if the labels have been printed correctly, remember to wait until all labels have printed before selecting YES/NO as you can use the re-print facility.
|